Biomechanical Exercise Database
Master the biomechanics of human movement. FitNet USA eliminates guesswork with peer-reviewed technique protocols, joint angle kinematics, and common pathomechanical error corrections for all primary compound and isolation lifts.
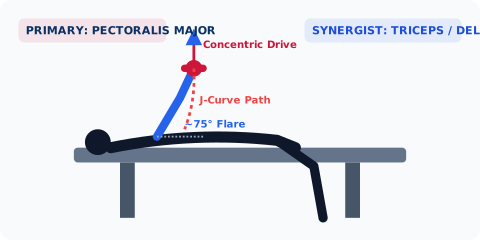
Barbell Bench Press
Primary: Pectoralis Major (Sternal & Clavicular heads)
A 75° shoulder abduction angle reduces subacromial impingement risk by 68% compared to a 90° flare.
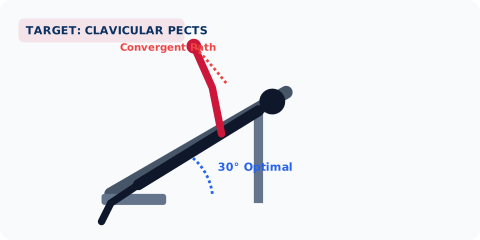
Incline Dumbbell Press
Primary: Pectoralis Major (Clavicular Head)
A 30° bench incline maximizes clavicular pectoral recruitment while limiting anterior deltoid over-activation.
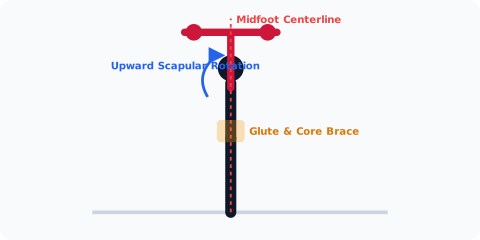
Standing Overhead Press (OHP)
Primary: Anterior & Lateral Deltoids
Active thoracic extension and gluteal isometric contraction prevent dangerous lumbar hyperextension.
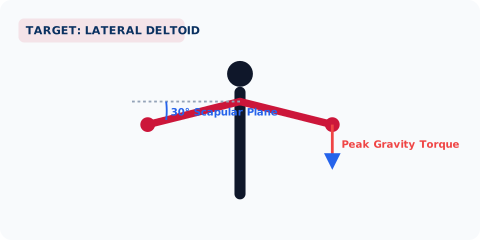
Dumbbell Lateral Raise
Primary: Lateral Deltoid (Middle Acromial Head)
Performing lateral raises in the scapular plane (30° anterior to coronal) prevents subacromial impingement.
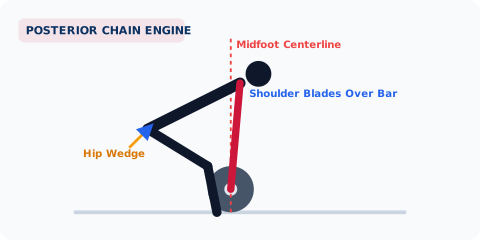
Conventional Deadlift
Primary: Gluteus Maximus, Erector Spinae, Hamstrings
Positioning barbell directly 1 inch from shins over midfoot minimizes the spinal moment arm.
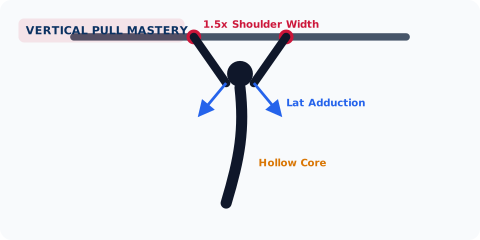
Pull-Ups & Chin-Ups
Primary: Latissimus Dorsi, Teres Major
Pronated grip (pull-up) maximizes latissimus dorsi and lower trapezius recruitment.
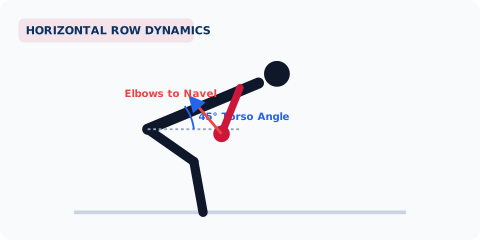
Barbell Bent-Over Row
Primary: Latissimus Dorsi, Rhomboids, Middle & Lower Trapezius
A 45° to 70° torso angle balances lat recruitment with sustainable isometric lumbar endurance.
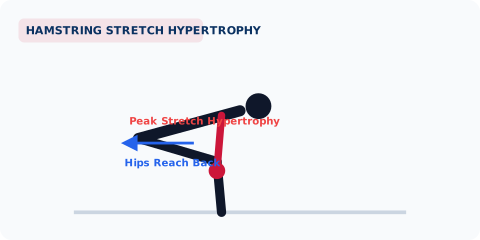
Romanian Deadlift (RDL)
Primary: Hamstrings (Semitendinosus, Semimembranosus, Biceps Femoris)
Maintaining soft, fixed knee flexion (15°–20°) isolates the hip hinge without squatting the weight.
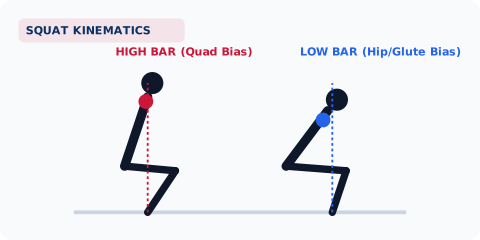
Barbell Back Squat
Primary: Quadriceps Femoris (Rectus Femoris, Vastus Lateralis/Medialis/Intermedius)
High bar placement emphasizes knee flexion and quadriceps activation with an upright torso angle.
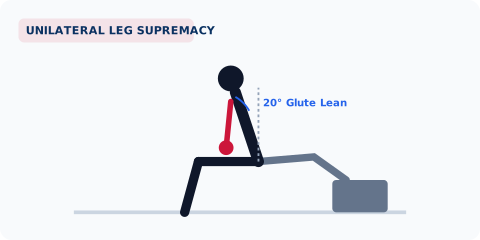
Bulgarian Split Squat
Primary: Quadriceps Femoris & Gluteus Maximus
Elevating the rear foot 4 to 6 inches reduces excessive lumbar extension and rectus femoris tightness.
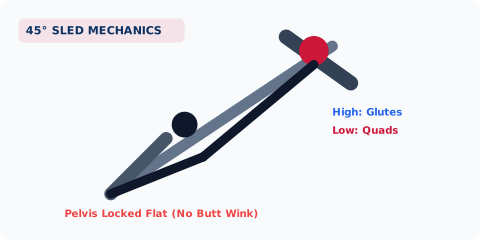
45-Degree Leg Press
Primary: Quadriceps Femoris (All 4 heads)
High foot placement shifts mechanical leverage toward the gluteus maximus and posterior chain.
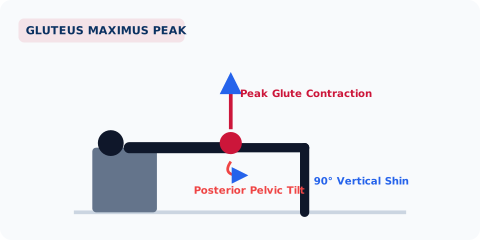
Barbell Hip Thrust
Primary: Gluteus Maximus (Upper and Lower Fibers)
Gluteus maximus EMG activation is highest at full terminal hip extension in a shortened muscle position.
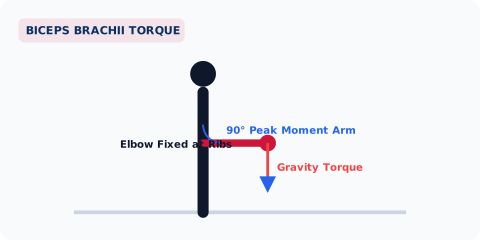
Barbell Bicep Curl
Primary: Biceps Brachii (Long Head & Short Head)
Straight barbell locks the forearm into full supination, generating peak torque across both bicep heads.
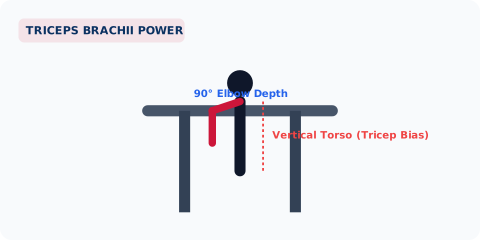
Parallel Bar Dips & Overhead Triceps Extensions
Primary: Triceps Brachii (Long, Lateral, Medial Heads)
Keeping torso vertical during dips focuses tension onto triceps, while forward lean shifts load to chest.
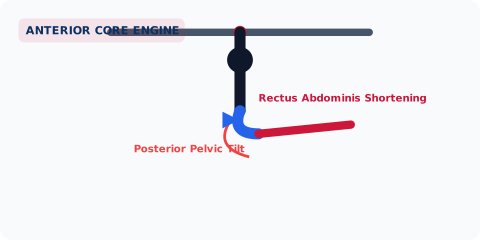
Hanging Leg Raise
Primary: Rectus Abdominis (Lower & Mid Fibers)
Lifting legs without curling the pelvis engages hip flexors (iliopsoas), leaving abs merely as stabilizers.
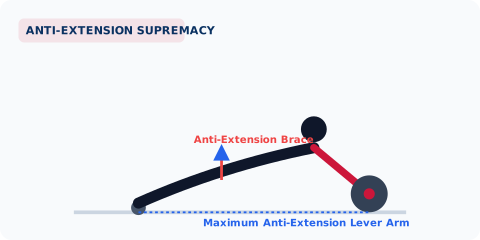
Ab Wheel Rollout
Primary: Rectus Abdominis, Transverse Abdominis
The ab wheel rollout is the gold-standard anti-extension exercise, imposing extreme torque at full stretch.
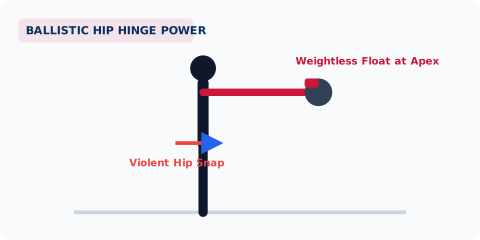
Hardstyle Kettlebell Swing
Primary: Gluteus Maximus, Hamstrings
The kettlebell swing is a pure ballistic hip hinge, never a squat-and-front-raise movement.
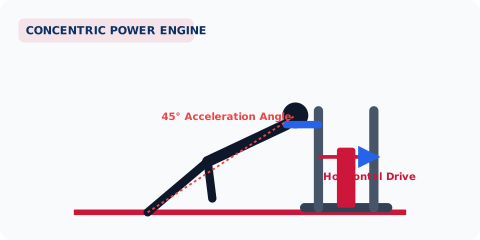
Sled Push & Prowler
Primary: Quadriceps Femoris, Gluteus Maximus, Gastrocnemius & Soleus
Concentric-only muscle action eliminates eccentric micro-tears, allowing maximum conditioning with minimal muscle soreness.
Frequently Asked Questions About Biomechanics
Why is biomechanical analysis essential for lifting safety and growth?
Biomechanical understanding aligns your movement execution with human anatomy and physics. By positioning joint levers and moment arms properly, you maximize muscular tension on the target motor units while minimizing destructive shear forces across connective tissues.
How do I know which exercise variation is best for my anatomical proportions?
Limb lengths and joint morphology dictate ideal kinematics. For example, lifters with long femurs often thrive on low-bar squats, sumo deadlifts, or Bulgarian split squats, whereas lifters with shorter femurs excel in upright high-bar squats.
Does exercise form have to look 100% identical for every person?
No. While universal physics rules apply (such as keeping the barbell over midfoot), stance width, foot flare, and grip spacing must adapt to individual hip socket depths and shoulder carrying angles.
How can I test my strength benchmarks on these exercises?
Use our peer-reviewed One-Rep Max (1RM) Calculator to estimate maximum strength loads and configure your barbell loading with the Barbell Plate Loader.
How many exercises should I perform per muscle group per workout?
Sports science indicates that 1 to 2 compound movements paired with 1 isolation exercise (totaling 6 to 10 sets per session) provides the optimal stimulus for maximum muscle protein synthesis.